Jump to content

Twitch Channels By Pages ( IP.Content ) 1.0.0

   (9 reviews)

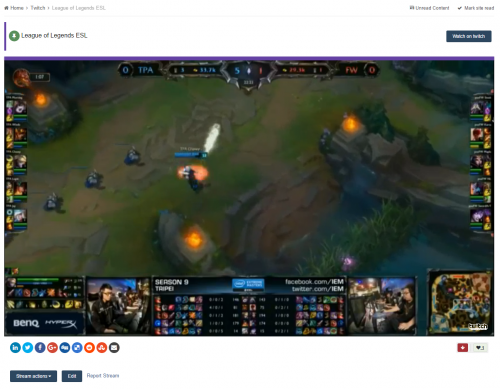
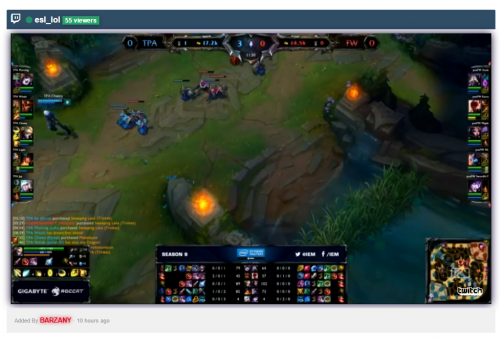
6 Screenshots

About This File

Don't be a leech, click the reputation button if you want to get more files in the future. VxJrpuq.png

This is not a custom plugin or an application, This is a custom database by Pages app created and customized for twitch system.

This is also the recreation and upgraded version of Guide: Creating twitch Channels using pages 

What is the different? check features 

Features : 

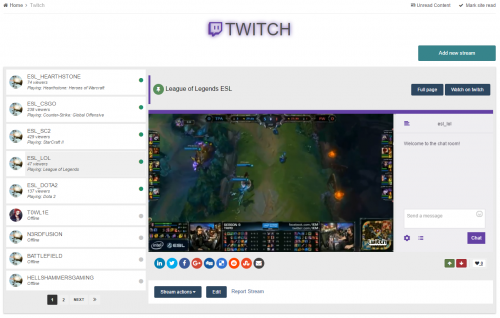
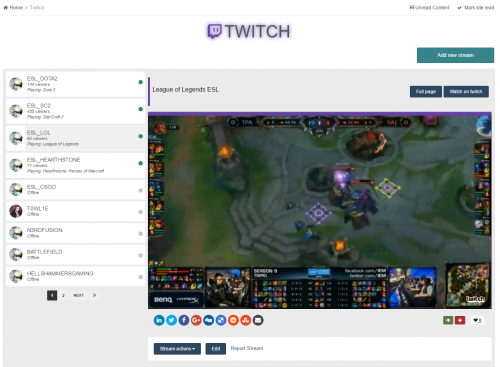
  • Twitch status, Online/Offline, Viewers, game name.
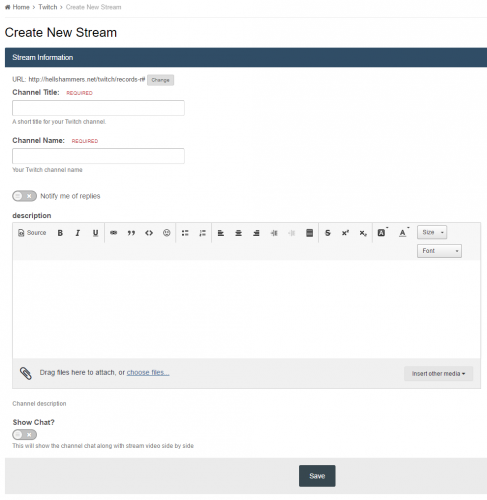
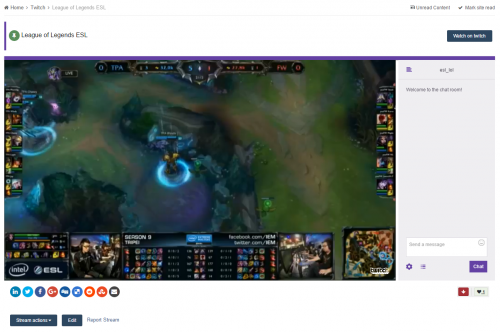
  • Optionally allowing channel chat, side by side with stream video 
  • Auto sorting channels by online status.
  • Custom block template customized to show one recent stream with user status on block title.
  • Responsive design and using IPS css classes which will perfectly suite any theme you're using.


Installation

STEP 1 - installing the database

zip file contains 4 files 

  1. Twitch.xml - This is the main database file, Go to  ACP > Pages > Database > Create New > Upload Database > and upload theTwitch.xml
    After you install the database go to 
    ACP-> Pages > Database > Twitch > Edit > Database Key > Name the database key to TwitchDB and Save.
    You will also need to set permissions for custom database fields at ACP > Pages > Twitch > Fields > Then set whatever permission you want for each field.
     
  2. CSS.txt - This text file contains the css used for this database, Copy the codes and then Go to,  ACP > Pages > Templates > New-> Add CSS File > name it Twitch and Save. from the same page click on CSS tab open the twitch file you created and paste the codes
     
  3. JS.txt - This text file contains the JavaScript used for this database, Copy the codes and then Got to,  ACP > Pages > Templates > New > Add Javascript File > name it Twitch and Save. from the same page click on JS tab open the twitch file you created and paste the codes.
     
  4. Twitch-Block.xml - This is an optional Block template you can use it to show the recent twitch channels, to install this block template go to ACP-> Pages-> Templates > Upload Template.
    once you upload the template go to ACP > Blocks > Create New Block > Feed from Twitch > Next > Content > Template > selectTwitch_Block template and save the block.
    You may also want to make the block to show only one record.


STEP 2 - creating a page for the database

  • Go to ACP > Pages > Pages > Add Page > Content Editor > Manual HTML > Next >...
    1.  Click on Page Includes tab and select the twitch javascript and the css you created on step 1
    2.  Click on Content tab and select Twitch database tag from right side of page, If you have already named the database key to TwitchDB just paste the following tag in Content tab
     {database="TwitchDB"}


That's all for the installation ^_^ check  DEMO on our website 
  • Upvote 6
  • Downvote 2


User Feedback

You may only provide a review once you have downloaded the file.


Aquiles

· Edited by Aquiles


It worked for me, but next to the user's photo is only one point, it does not show how many people are online...

Screenshot_2.png

I found a solution to the problem: JS code was incorrect, below is correct.

/*
 Twitch status
*/
function pageUpdate () {
  $('.twitchFP').each(function () {
        var tnick = $(this).data('tnick');
        var div = $(this).next();
        $.getJSON("https://api.twitch.tv/kraken/streams/"+ tnick +"?client_id=avp4t1ix2zrbz98zvum3ibcd1vjabyd&callback=?", function (data) {
            if (data.stream === null) {
                div.html( //stream is offline!
                    '<strong class="ipsOnlineStatus ipsOnlineStatus_offline"><i class="fa fa-circle"></i></strong><h4 class="ipsDataItem_title ipsType_break"> ' + tnick + ' </h4><div class="ipsDataItem_meta">Offline</div>');
            } else { // stream is online!
                var views = data.stream.viewers;
                var game = data.stream.game;
                div.html( //stream is online!
                    '<strong class="ipsOnlineStatus ipsOnlineStatus_online"><i class="fa fa-circle"></i></strong><h4 class="ipsDataItem_title ipsType_break"> ' + tnick + ' </h4><div class="ipsDataItem_meta"> ' + views + ' viewers </div><div class="ipsDataItem_meta">Playing: '+ game +' </div>');
            }
            $(function() { // Sort by Online user
                var online = $('.ipsOnlineStatus_online').closest('.cCmsRecord_row');
                var first = $('.cCmsRecord_row')[0];
                online.each(function() {
                $(first).before(this);
                });
            });
        });
    });
};
pageUpdate();
/**
 * IPS Social Suite 4
 * (c) 2013 Invision Power Services - http://www.invisionpower.com
 *
 * ips.releaseNotes.main.js - Release notes controller
 *
 * Author: Rikki Tissier
 */
;( function($, _, undefined){
	"use strict";

	ips.controller.register('pages.front.releaseNotes.main', {

		_ajaxObj: null,

		initialize: function () {
			this.on( 'click', '[data-releaseID]', this.showRelease );
			this.setup();
		},

		setup: function () {
			// Find the current release if available
			var showFirst = this.scope.find('[data-role="releases"] [data-currentRelease]');

			if( !showFirst.length ) {
				showFirst = this.scope.find('[data-role="releases"] [data-releaseID]').first();
			}

			if( showFirst.length ){
				showFirst.click();
			}
		},

		showRelease: function (e) {
			e.preventDefault();
			
			var self = this;
			var link = $( e.currentTarget ).attr('href');
			var infoPanel = this.scope.find('[data-role="releaseInfo"]');

			// Cancel any current requests
			if( this._ajaxObj && _.isFunction( this._ajaxObj.abort ) ){
				this._ajaxObj.abort();
			}

			// Set panel to loading
			infoPanel
				.css({
					height: infoPanel.height() + 'px'
				})
				.html( $('<div/>').addClass('ipsLoading').css({ height: '100px' }) );

			// Unhighlight all others, then highlight this one
			this.scope.find('[data-releaseID]').removeClass('ipsAreaBackground_light');
			$( e.currentTarget ).addClass('ipsAreaBackground_light');

			this._ajaxObj = ips.getAjax()( link, {
				data: {
					rating_submitted: 1
				}
			})
				.done( function (response) {
					var responseContent = $("<div>" + response + "</div>");
					var content = responseContent.find('#elCmsPageWrap');

					infoPanel.html( content ).css({ height: 'auto' });

					$( document ).trigger( 'contentChange', [ infoPanel ] );
				});
		}
	});
}(jQuery, _));


Link to review
hypr

· Edited by hypr


As other people has mentioned, this doesn't work on a forum with a SSL certificate, sadly!

After editing the database XML files to fetch stuff from https-servers instead of http, streams displays. But the stream info on the tabs to the left only show a dot. Not the amount of viewers and not the streamer etc

Link to review
leguedric

   1 of 1 member found this review helpful 1 / 1 member

Works fine, thanks.

Link to review
polkovnika2

· Edited by polkovnika2

   1 of 1 member found this review helpful 1 / 1 member

PS: work!

  • Upvote 1
Link to review
Aruna

   4 of 5 members found this review helpful 4 / 5 members

Don't work for me :/..

  • Upvote 3
Link to review
Blacksail£

   3 of 3 members found this review helpful 3 / 3 members

Looks nice however its appear as a blank white page, i guess theme incompatibility or i don't know. If someone has a fix, send me a message

Link to review
Always on keyboard

   2 of 3 members found this review helpful 2 / 3 members

The twitch video not work whit Https website :(

  • Upvote 1
Link to review
×
×
  • Create New...